Don’t try to (needlessly) upsell me.
Writers, Print Vehicle Service Histories for Every Vehicle
read more
Don’t try to (needlessly) upsell me.
There are some items on a maintenance checklist that neither mechanics nor writers will recommend. Sometimes that’s because a visual inspection or assessment seems at odds with an overly rigorous service schedule. Sometimes, the condition of the car or the financial health of the customer informs the decision.
And sometimes, it’s for what seems like no reason at all. Most techs wouldn’t dare let a car with thin brake pads go without a line item on an estimate. But most won’t think twice about skipping a valve check, which is a shame. (And just as crazy as not selling the brake job!) It’s easy work, high profit, and no “upselling” is required: it’s a listed maintenance item. If you’re weak in this area, here’s the skinny on what occurs inside the engine and what you need to know about selling the customer your time to check it, as the manufacturer recommends.
There are loads of drivetrains and vehicles you probably know inside and out that require valve checks. The Honda Accord’s 2.7. The Toyota Tacoma 22R and relatives. The Mazda Miata’s little I-4.
These vehicles don’t use hydraulic lash adjusters that rely on fluid pressure to maintain proper clearance between the vehicle’s poppet valves in the cylinder head and whatever actuates that valve. Instead, a specific clearance is created through the manipulation of manual adjusters or by way of shims of specific thicknesses that may sit over or under the cam bucket.
The idea is to create a little air gap between the rocker arm, cam, or other actuating item and the tip of the valve stem. The reason is because as the engine heats it grows, as do all the parts in it. The clearance, otherwise known as lash, between the parts helps ensure that the heel of the cam isn’t holding the valve open when the engine heats up. If it did, it could cause it to fail due to an inability to shed its heat into the seat, the primary way a valve is cooled. (It’s also why exhaust valves tend to “tighten up” faster than intakes, generally speaking.)
The kicker in this whole thing is seat wear. As the miles pile up, the springs snapping the valve shut wear the valve seat. The valve recedes deeper and deeper into the seat, effectively appearing “taller” to the actuator and reducing the clearance until it eventually contacts the heel of the cam or actuator. As this occurs, the valve stops seating fully, causing burnt valves, loss of compression, and misfires.
This is important because if you understand this theory of operation, you can immediately correct two common phrases heard from those who do not. “I don’t want my valves to be loose!” No, you want them in spec. But the valve won’t loosen; it will tighten. A tappy valve is, within reason, a happy valve. And that’s a nice segue into the other related claim, which is, “Oh, it’s quiet, they’re fine!” A freshly-adjusted valve train adjusted to the loose end of the specification range is usually audibly noisy.
Not alarmingly so, but you can tell the engine is running. As the clearance diminishes, so does the noise. If it sounds quiet and the vehicle is beyond its valve check interval and current lash specifications are unknown, inspection is in order, and those inspections don’t normally instruct one to “give ‘er a listen.”
Another interesting tidbit when selling these jobs is that sometimes on engines with wide clearance windows, there can be a noticeable performance difference after adjustment. Valves adjusted very loosely will replace some of the actuating item’s range of motion with lash, or slop. Assuming the engine has fixed rather than variable cam timing, this has the effect of reducing the effect of the lift and/or duration of the cam, depending on the valvetrain’s mechanical layout.
If you’ve never done one, generally you are to let the engine cool completely, and remove the valve cover. The engine is then rotated manually until the cylinder you’re checking is at top dead center (TDC) of its compression stroke. The lash is measured using feeler gauges and recorded. The process is then repeated for every other valve in the engine.
Many times, that’s it. Valves are all in spec, you replace the valve cover(s), and that’s it. If valves are out of spec, though, the adjustment process is a bit different depending on the way clearance is established.

Locknut-style adjusters. Photo: Shop Press Staff.
These are pretty simple and self-explanatory when you see them. This type is usually used on engines with a cam that sits alongside the valve and acts upon a rocker. If the valve clearance is too tight (not always the case, but it is 99% of the time), the locknut is loosened with a wrench, and the threaded adjuster turned to re-establish proper clearance, usually with a small flat-blade screwdriver or wrench, and then held as the locknut is snugged back up. The upside of this type is that they are easily adjusted with no additional parts needed besides whatever gaskets you destroy on the way in. The downside is that they need more frequent checking than shim-and-bucket adjusters. (But that’s an upside for a shop!)
These types of adjusters are normally seen on engines that have cams that sit over the valve and actuate the valve directly, through a cam bucket. The cam may use shims on top of the bucket or shims that are held captive under the bucket. (And some shims are built into the buckets.) The checking process is the same as screw-and-locknut type units: get the cam on the heel and get a feeler gauge between the cam and the bucket.

Buckets with integrated shims. Photo: Jonathan Roth.
If adjustment is needed on vehicles with this arrangement, it’s significantly more work than the previous variety. Normally, you’ll sit down, record the difference between actual clearances and specified clearances, measure the shims on hand, do some math, and then order the valve shim(s) or cam buckets needed. The cam(s) can then be removed, and the shims or buckets swapped out. Cams are reinstalled, clearance is double-checked, and then the vehicle is reassembled. Every now and then, you get lucky if you’re quick at math: You can swap a few shims around that you have and get everything into spec without ordering parts, which are indubitably a few days away.
It’s simple … it’s on the schedule. That’s the softest sell possible; it’s not like you’re recommending it, the vehicle manufacturer did! Though labor times are given, it can be simpler to look up if a vehicle is screw-and-locknut style or not. If it is, you can bill for the check and the adjustment and pay the tech the same; it’s really almost no more work to bring a valve back into spec as opposed to one being A-OK. It can be clearer for the customer, and as long as you can get the valve cover gasket and spark plug tube seals same day, there should be no more than a day’s wait. Don’t forget to offer plugs while you’re in there. Also, don’t forget to have a team of techs push the car in from the lot, or the clock resets if the motor is specified cold for the check.
Shim-and-bucket? That’s a little more dicey. Expect the car will need to stay overnight unless your shop or parts house has a generous assortment of shims on hand. Generally, the difference between the labor for a check and the labor for an adjustment is significant. It’s extreme, but the difference in the cost of a check where everything is in spec and an adjustment requiring four cams to come out and eight new shims can be rather alarming. Brace your customers for the worst and explain that the check is specifically to be able to tell them which it’s going to be. Because it’s possible the bill will go north, it’s important to make it clear that either a high price on the RO could go down, or the low price is likely to move north. Ideally, this check is done with a timing belt and water pump, since that maintenance requires many of the same components to be removed.
In any event, understanding why valve clearance checks are recommended, how to do them, and how to explain why this is a critical service that shouldn’t be skipped can’t do anything but help your top line, and because the bulk of this service is labor, not parts, it really helps the bottom one, too.
Don’t let your customers wait until maladjusted valves cause a misfire; that’s reasonably low on the list of causes most techs check during a diag—and that tech is likely to be in your shop (or you yourself!). Dust off those feeler gauges and put some money in your till.
The articles and other content contained on this site may contain links to third party websites. By clicking them, you consent to Dorman’s Website Use Agreement.
Draw a hard line when it comes to basic diagnostics.
Technician A says thrust angle must be set to zero on many ADAS-equipped vehicles during alignment. Technician B says the steering angle sensor and front wheel position must be correct before camera or radar calibration. Who is correct?
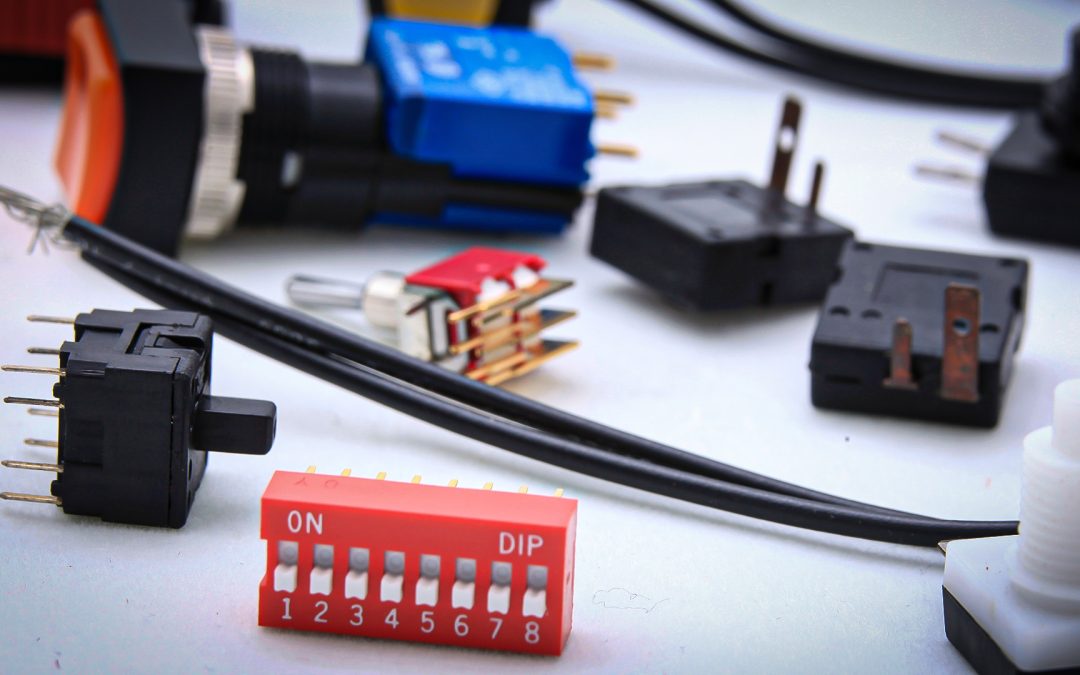
They may look simple, but these little toggles can enable powerful electronic versatility.
Loaded knuckles streamline wheel bearing and suspension repairs to help shops boost efficiency and profitability.
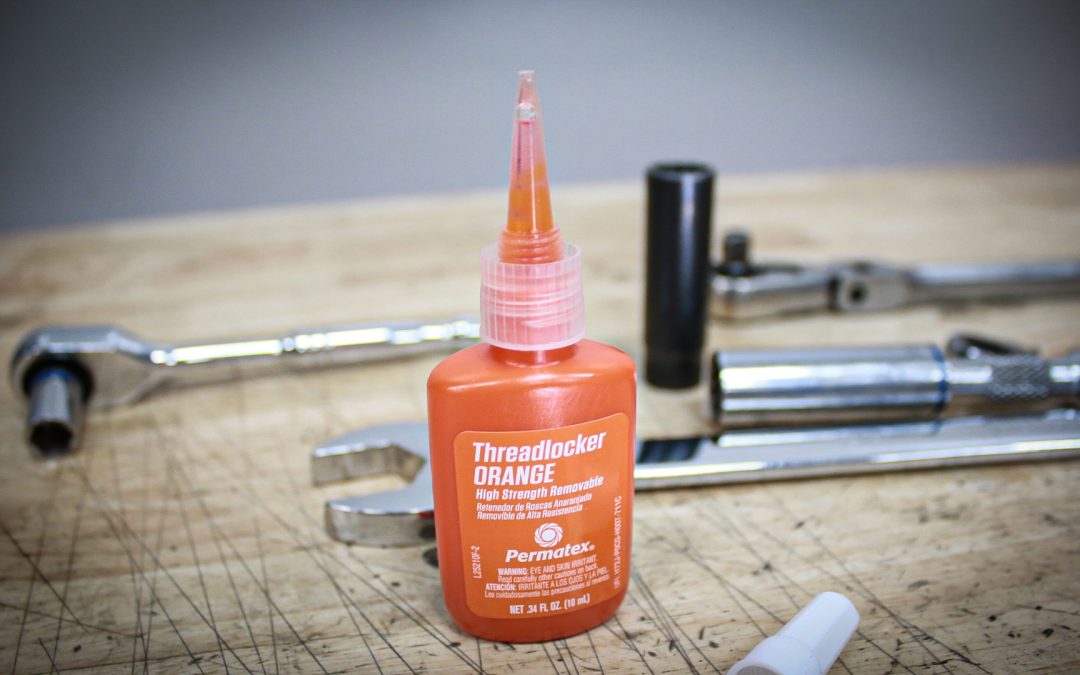
Can there be one threadlocker color to rule them all?

When it comes to threaded items, wrong is right. Or is it left?
Participation in this forum is subject to Dorman’s Website Terms & Conditions. Please read our Comment Policy before commenting.