If you’re still using torque sticks and impact power to install lug nuts and lug bolts, it’s time to reconsider.
If you work on cars for a living or you’re a diehard gearhead, odds are excellent that people look to you when some basic automotive snafus need to be handled. I’m sure those who know you have asked you to help with the following items:
The first two are likely easy for you. The last one is too, but performing this task requires special tools and practice. I’ve written briefly about that practice for the “you-maul-‘em-we-haul-‘em” crowd, but if you’re green at opening locked cars, understanding the theory behind the tools is a great first step. If you know how to use them, all you have to do is practice.
The nice fella in our Legal department who shuts down most of my bad ideas would probably be pretty happy if I mentioned that this education is provided to you for legitimate, non-nefarious purposes. Don’t turn your successful stint as a mechanic or friendly car guru into a life of crime boostin’ car stereos.
I’m gonna break apart our 75489 lockout kit piece-by-piece in chronological order to walk you through a stereotypical unlock procedure. I’m in a unique scenario here because I actually spec’d this kit for Dorman, and now I have the pleasure of explaining it. I know it works because I based it off my own homegrown kit. Let’s discuss what’s in the bag.
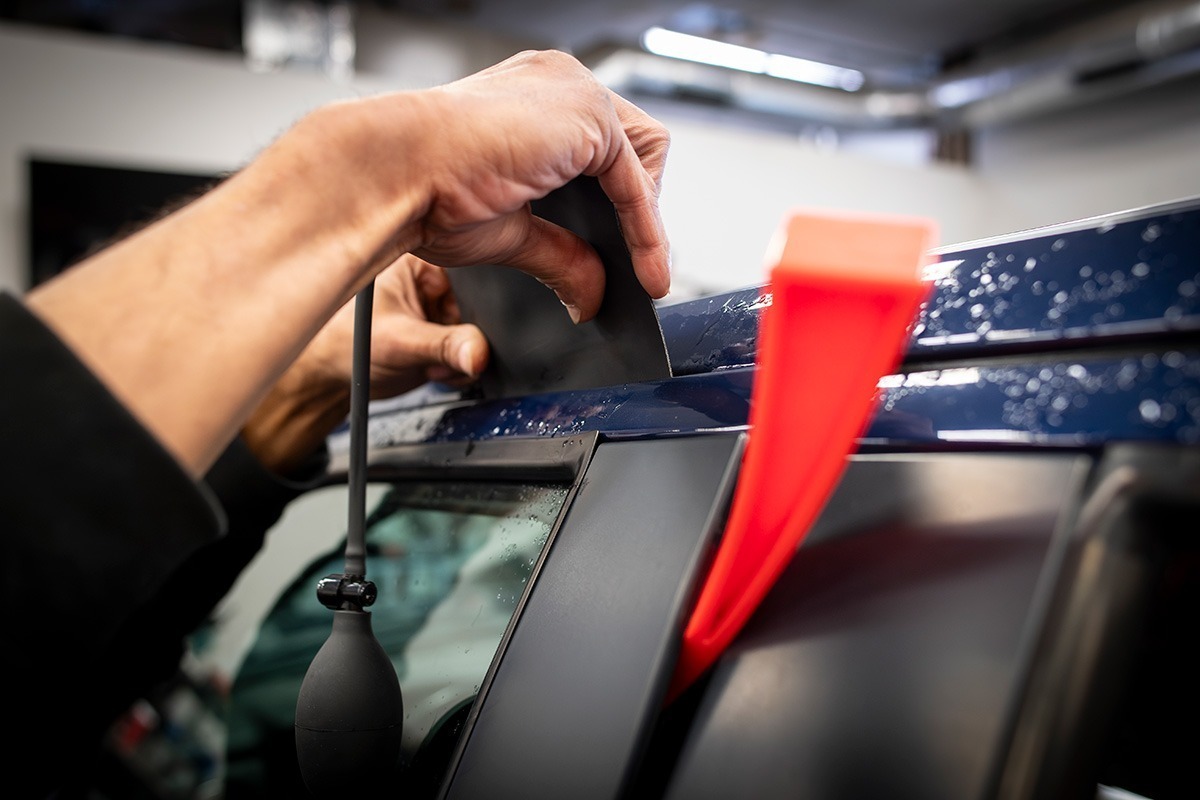
Photo: Mike Apice.
In the old days, we used to slim-jim cars to open ‘em. (Actually, other people did. I stank at it and still do.) If you watch the movies, it’s as easy as hotwiring and takes just moments! In reality, it takes some time (though some folks are lightning fast). Those folks are usually wrecker operators, not thieves.
The idea was to get between the window and outer door skin and operate the door latch or lock rods to gain entry. Vehicle manufacturers began implementing measures like bends and baffles in doors to prevent this, and at the same time, they also began moving away from mechanically operated latches and locks, though you’ll still find plenty of those in service.
Nowadays, though, the modern lockout kit focuses on gaining entry between the vehicle door and body, because that works on most new vehicles and a pretty good portion of the old stuff.
Practice with a slim jim if you like, but only after you’re proficient on the modern tools—they’re a lot easier. Let’s start learning about those.
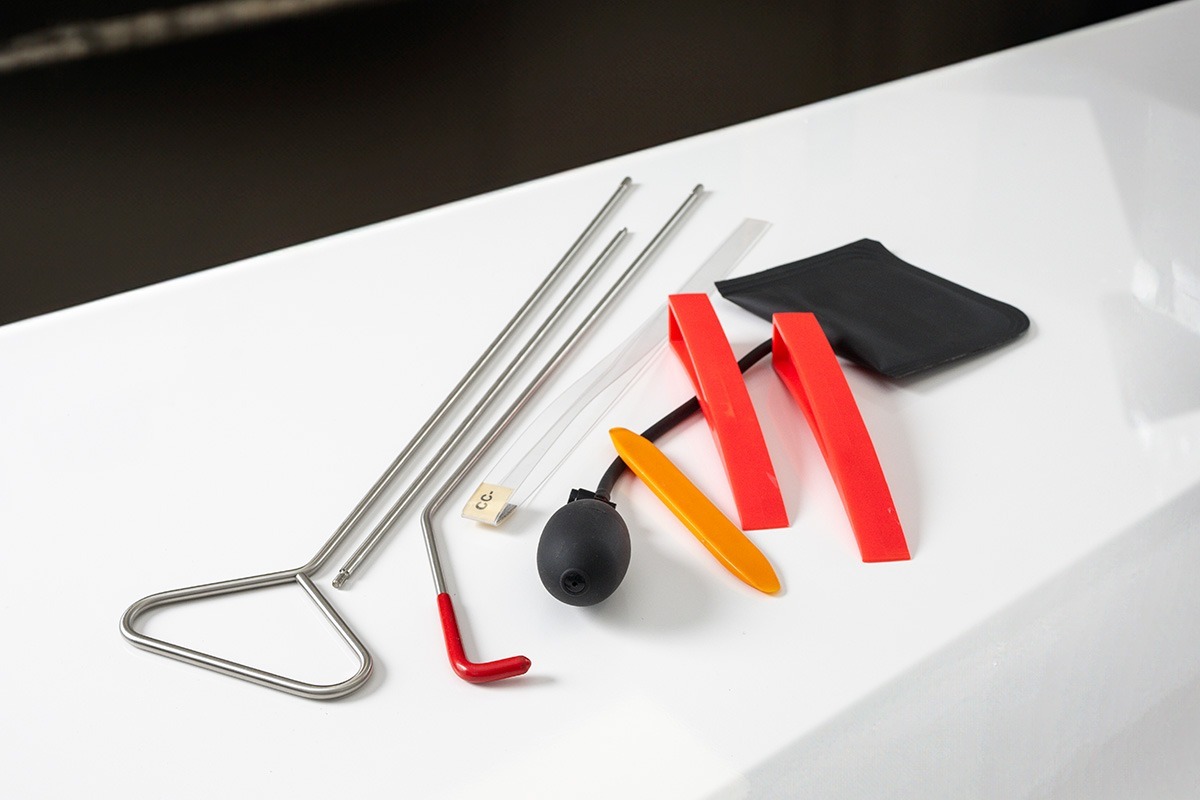
Photo: Mike Apice.
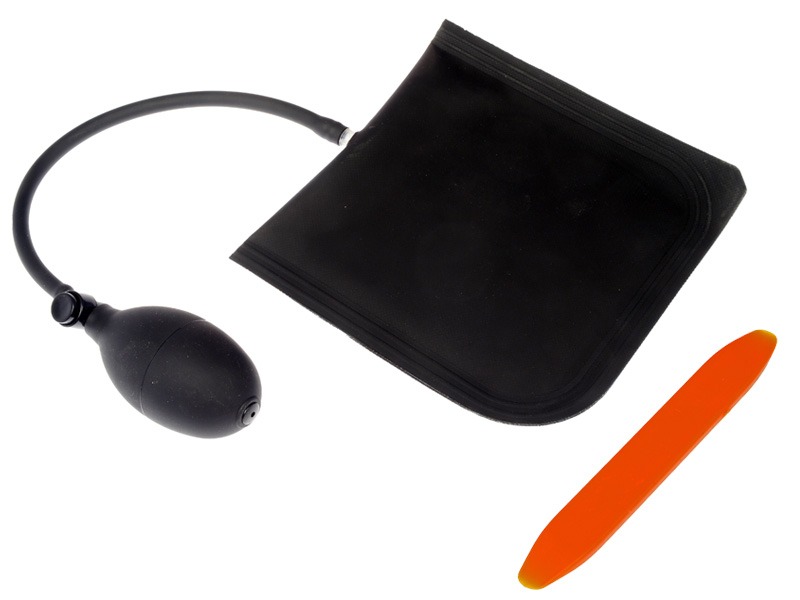
The air wedge is the cornerstone of your lockout kit. This inflatable bladder is what’s used to create the gap between the door and frame. Pump it up to spread the two. Hit the release knob to…uh, release the air, duh. You probably recognize the trim stick, but you’re using it a bit differently here. I stick that in between the door and frame as a lever to get enough room to work. The plastic won’t scratch paint and it’s a little more rigid than the corner of the air bladder. It’s usually awesome for getting past the weatherstripping. (A little soapy water can go a long way here to keep it from tearing.)
I’ll give you a few pieces of advice. The first is to inflate the bag only as much as necessary. You’re stressing the latch and tweaking the door. It’s steel, so it will “remember” where it wants to be, but you can permanently damage a door with this tool. Easy does it. Also, get as close to the rear upper corner of the door as possible. This gives you the best working access assuming you are standing and positions you farthest away from both the latch and hinges, leading to the lowest possible chance of damaging the door (but it’s still really easy).
And the trim stick is a good tool in its own right—remember a door is not the only way in. Up until recently, on many trucks, a non-seamless sliding window was often a comically easy way to get into a vehicle, and a trim stick is often all it takes.
Wedges are optional. Think of them like a jack stand; you use a solid item to save the expensive thing that moves (the air wedge). They can also come in handy if you have a really well-sealed door or a really long door. Rather than try to lift one section of it away from the chassis really far, two or more small “bites” may cause less damage. Use your air wedge, drop in a plastic wedge, lather, rinse, repeat.
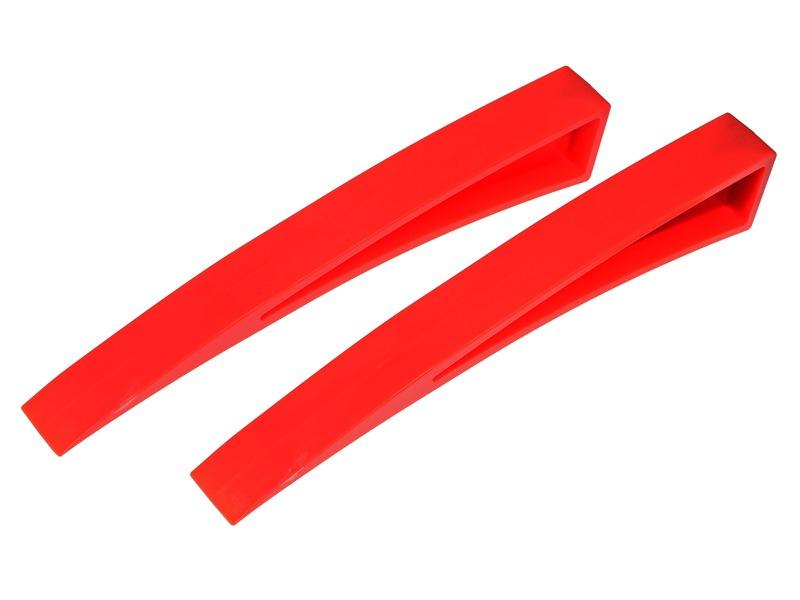
Wedges. Photo: Mike Apice.
This is the second-most important tool in the kit. Here’s what you’re gonna use to work in the vehicle. This thing is more than just a fancy coat hanger: it’s got the right amount of flexibility, but not too much. It also has a vinyl dip on the end to help you get some purchase on smooth plastic vehicle parts. The wide handle makes maneuvering it easy and exert some leverage where needed. Try that with a coat hanger!
When assembling this tool, get the sections snug. The serrated areas at the joints help ya tighten and loosen the sections. I mention this because you’ll need to manipulate the tool, and if you need to sweep it and the sections are not joined tightly, the rotation will go all kerflooey on you. Keep pliers handy so you can take it back apart! I normally start with the handle and the hook end; the middle section isn’t used often. Here are a few scenarios where you might want that middle section:
As a final word of advice, I would also encourage you to remember that you don’t have to pull the door lock post. You can nudge the unlock button in a vehicle fitted with power locks (which is pretty much all of ‘em nowadays) or hook the door handle and pull; many doors will unlock and open in that single motion. And, of course, you may need to hook a key ring if you’re dealing with a runner!
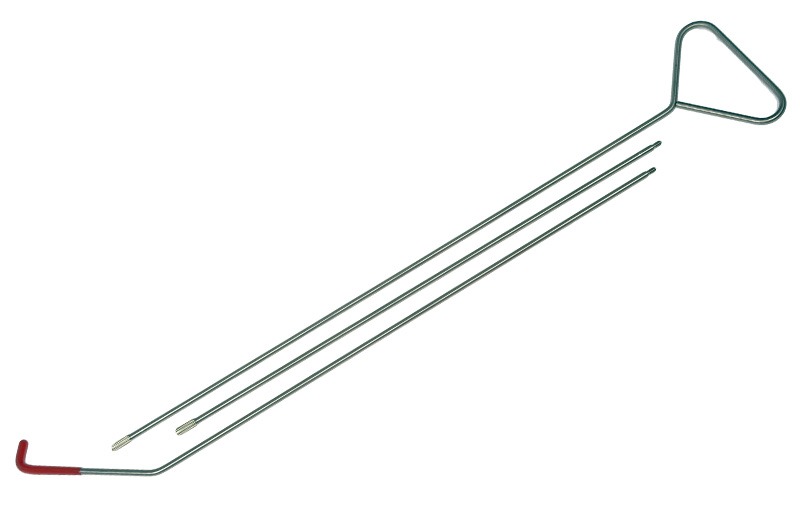
Lockout tool. Photo: Mike Apice.
This is the last item in the bag. It’s not always the right choice. In fact, it’s a tricky little tool to use, but sometimes it works. It‘s a slippery piece of plastic you can pinch together at the end away from the fold. By keeping the ends even, it is slim and will pass your air wedge. But if you slide the ends against one another, a loop forms, which you can slip over a door lock post. Note that in the fold, a piece of low-grit sandpaper can “grab” the knob, gaining you enough purchase to pull the ends even and bump the lifter tool upwards, lifting the knob.
Hopefully there are some tips in there to help you get going. The best way to use these tools is to wear a set out—practice makes all the difference. I didn’t have to do nearly as many lockouts as a roadside assistance driver or a recovery operator, but I was OK at getting into stuff that was trying to keep me out. My skills have since eroded a bit and I’m not as good as I once was, so if you wanna be an entry ninja, give those tools a workout!
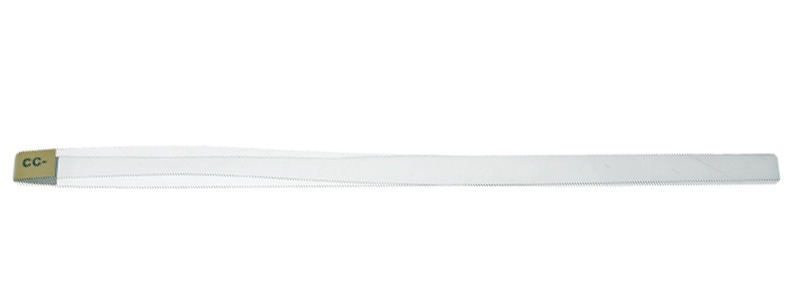
Lock knob lifter. Photo: Mike Apice.
The articles and other content contained on this site may contain links to third party websites. By clicking them, you consent to Dorman’s Website Use Agreement.
Participation in this forum is subject to Dorman’s Website Terms & Conditions. Please read our Comment Policy before commenting.