Don’t try to (needlessly) upsell me.

Writers, Print Vehicle Service Histories for Every Vehicle
read more
Don’t try to (needlessly) upsell me.
Man, it feels like just yesterday you graduated with that Associate’s in Automotive Tech, but nope, it’s been three months already, and you’ve landed a solid job at ABC Auto Repair back in your hometown. The boss has been taking it easy on you, dishing out a bunch of oil changes and tire repairs while you get the hang of the workflow and vibe with the other techs.
Then boom—the big day hits! He hands you your first real diagnostic ticket: customer says the “Check Engine light is on.” He wants to see what you’ve got. You’re pumped, ready to flex all that knowledge from the last two (or more) years of school. You’ve tackled plenty of Check Engine lights under your instructor’s watchful eye. This should be a walk in the park!
Four hours later? Still no idea why the light’s on or how to fix it. Now you’re bummed, second-guessing if this career’s even for you. Before you bail and cry “uncle,” let’s chat about your diagnostic process; that is, if you’re even using one!
So, how do I kick things off when I get a ticket that’s just a “Check Engine light on” concern? That’s often all the info you get, unless the car’s running less than perfectly, so you might not spot any driveability issues right away.
My first move after pulling the car in is hooking up a scan tool with the Global OBD-II option. The standard setup makes it easy to zip through the data I need, no matter the make, and all the “live” data is the real deal; no fake substitute values like you might see in a brand-specific mode. First stop is to check for stored or pending codes. I jot down every code I find, then hop over to the Freeze Frame data to get a sense of what the car was doing when the code(s) popped, like speed, load, that kinda stuff.
A quick heads-up on Freeze Frame, though. If it’s a continuous monitor code (like Comprehensive Component, Misfire, or Fuel Control), that data’s gold for my diag approach. Hunting a misfire at idle is way different from one under load. But if it’s non-continuous (most others), I’m not sweating it as much. It’s more about the test conditions than the fault lead-up.

I bet a lot of you folks follow a similar process up to here. And I bet most of you clear the codes right about now, too.
Whoa, that could be a big oops.
When you clear ’em, you erase everything about the problem, and you might wanna circle back later to data that’s gone forever. Hit “enter,” and poof; codes, Freeze Frame, Mode $06 data, and monitors all reset.
So, hold off till you’ve fixed it before clearing.
Another trap I see: leaning on the code description to steer your diag. Most descriptions are decent, but they don’t tell what failed or why, just the component or circuit involved. After pulling codes, head straight to your service info system. Time for some reading.
Even basic jobs these days need computer chit-chat—like TPMS, battery swaps, or resetting oil life monitors (those have been around forever). Thinking you can slap the same know-how on every make is a recipe for headaches, comebacks, and wasted time.
To dodge that mess, I front-load the research. Dive into the code(s) and affected systems. Read the full description, especially the criteria for the ECM to flag the fault. Sometimes multiple codes set, but only one is the real villain. Or vice versa. Some codes might pause other tests until they are resolved, so a new one could sneak up after your repair. Send the customer home? They’ll be back and not thrilled about it. You won’t be thrilled either.
Beyond codes and systems, I scour for factory Technical Service Bulletins (TSBs) tied to the code or issue. Over 40% of drivability woes boil down to ECM programming, and the fix is often a reflash. You’d never sniff that out solo. You’d just spin your wheels. TSBs also drop handy tips to cut diag time.
Don’t sleep on other resources either. Lots of service systems have databases of known gremlins, and I’ve shouted out iATN and Identifix before. But be careful about trusting Google, YouTube, or fan forums for answers. Just because it’s got a lot of views, don’t make it right.
Now that I’m loaded up with info, I plot my next moves. How I test depends on the fault. Good troubleshooting pulls the problem to you!
I start tests based on two things. One, my experience helps me decide on the most likely cause, and I design a test to confirm or bust it. Two, I go for easy, broad tests that check multiple angles at once. For instance, I run a relative compression test with my scope on every driveability job. Hook a second channel to ignition, and I can check overall engine health plus verify ignition timing (if off, maybe cam timing or sync issue), all in just a few minutes. Way better than the time it takes to perform a full mechanical compression check.
After those general tests narrow it down, I zero in with specific system checks to nail the culprit. Often, it doesn’t take long ’cause I’ve already ruled out a ton. Once I find it, I fix it, then verify by retesting or running monitors to make sure that’s all.

Don’t miss the forest for the trees! Start with general tests to eliminate possibilities before you focus on a single component. Photo: Pete Meier.
A solid diag approach works for any mess you’re in. For me, the secret’s sticking to the same routine every time. Grab initial data (including a quick visual once-over), research the problem and systems, use broad tests to shrink possibilities, then more specific tests to pin the problem down. Finally, always verify the fix before handing back the keys.
Stick to your game plan, and you’ll skip wasted spins, repeats, and oversights. That means more wins, quicker!
The articles and other content contained on this site may contain links to third party websites. By clicking them, you consent to Dorman’s Website Use Agreement.
Regenerative systems slow the vehicle electrically, but the reduced use of friction brakes creates new maintenance challenges.

A/C systems are evolving with new designs and refrigerants, making accurate diagnosis and repair more important than ever.

Draw a hard line when it comes to basic diagnostics.

Technician A says thrust angle must be set to zero on many ADAS-equipped vehicles during alignment. Technician B says the steering angle sensor and front wheel position must be correct before camera or radar calibration. Who is correct?
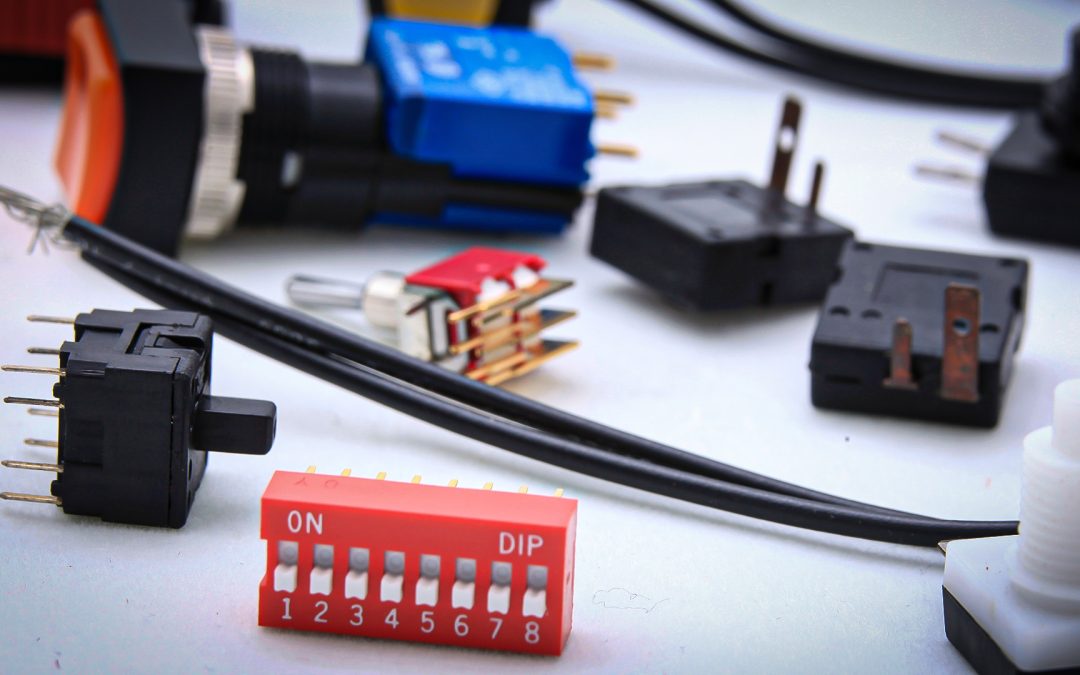
They may look simple, but these little toggles can enable powerful electronic versatility.
Loaded knuckles streamline wheel bearing and suspension repairs to help shops boost efficiency and profitability.
Participation in this forum is subject to Dorman’s Website Terms & Conditions. Please read our Comment Policy before commenting.