Techs can’t solve the problem that can’t be found

Service Writers: Don’t Leave Your Greatest Diag Tool in the Shop
read more
Techs can’t solve the problem that can’t be found
The spark plug has a tough job to do, and it has to do it under extreme conditions. The terminal (top) end of the spark plug is connected to a high voltage supply source, the ignition coil. As current flows from the coil, a voltage potential builds between the center (positive) electrode and the side (ground) electrode.
Now, of course, the two electrodes do not touch and that means it’s an open circuit, right?
Not entirely. There is something there—air. Or more precisely, at the moment of ignition, the air/fuel mixture that was injected into the cylinder micro-moments before is present. Initially, this mixture acts as an insulator but as the voltage potential grows, the gases begin to change. When the dielectric strength of the gases is reached, the gases ionize and become a conductor instead.
No more open circuit!
As the current flows across the now-bridged gap, the temperature in the spark channel rises significantly and quickly. This causes the ionized gases to expand just as quickly, like a small explosion, and results in the “click” you hear when a spark jumps outside of the combustion chamber. It’s a lot like lightning and the resulting thunder you hear during a summer storm.
The heat and pressure force the gases to react with one another and ideally, near the end of the spark event, a small ball of fire (or kernel) has formed as the gases burn on their own. This tiny little fireball then expands to consume the surrounding gases and combustion is realized.
The spark plug plays a critical role in the combustion process. Even minor discrepancies in the ability of the plug to function can result in inefficiencies of the process—and those lead to hard-to-nail-down, intermittent misfires.
For example, consider a gap that is too big or too small for the application. If it’s too small, the resulting spark may be too weak to ignite the air/fuel mixture. The spark will fire each ignition cycle but still be the root cause of that elusive miss. If it’s too large, the voltage requirement goes up, perhaps to the point that the plug doesn’t “fire” at all. Excessive gaps, either due to improper initial setting or wear, can also stress ignition coils to the point of failure.
When servicing spark plugs, begin by removing the coil or spark plug lead and inspect the plug boot for any visual signs of damage or arc-through and repair as needed. Use compressed air to clean the area around the base of the plug of any accumulated debris prior to removing the plug. We don’t want anything to drop down into the cylinder, do we?
Once removed, inspect the plug for signs of damage—and to make sure the entire plug came out!
While not as common (nor critical) as it once was, it’s still not a bad idea to “read” the plug for clues to any drivability issues you may be troubleshooting.

Photo: Adobestock.com/yingtustocker.
Our first example shows normal wear. There are no abnormal deposits or discoloration, and you can see that the electrode and ground strap, or side electrode, are slightly rounded. The gap is also larger than specified.

Photo: Adobestock.com/bravissimos.
Another common condition you may find is a pink or reddish discoloration of the insulator and ground strap. This is caused by fuel additives and is perfectly normal.

Photo: Adobestock.com/Evgenia Tiplyashina.
A discoloration that is often mistaken for a problem is this one. It’s called a corona stain and usually discolors the ceramic insulator in the area that is not protected by the spark plug boot. This is caused by oil or dirt particles surrounding the spark plug. Spark plugs create a high amount of static electricity as they fire, attracting these particles to the exposed ceramic between the plug boot and the hex.

Photo: Adobestock.com/Anatoly Tiplyashin.
Our next example is also common but is not normal—carbon tracks running from the terminal end along the outside of the ceramic to the plug body’s hex. This indicates an electrical short between the metal spark plug shell and the terminal nut. It can be caused by a variety of factors, including old/cracked spark plug boots, dirt or residue on the insulator, or a plug gap that is too large. Resistance increases due to one of these, leading the spark to take this easier and undesirable path.

Photo: Adobestock.com/Cyril Lutsenko.
The next example is one caused by improper installation or removal, and this illustration is obvious – a cracked or broken ceramic insulator. It’s not as easy to spot as a ceramic insulator that’s separated from the shell itself. Incidentally, that’s the most likely damage to occur if a plug is over torqued during installation.

Photo: Aidan Wojtas, CC BY-SA 2.0, via Wikimedia Commons.
Spark plugs with a smooth dark discoloration that may even appear a little wet indicate the presence of unburned fuel. This could be an overly rich fuel mixture, but don’t discount the possibility of ignition problems, leaking fuel injectors, or a spark plug heat range that is too cold.

Photo: Champion spark plugs.
A plug end that has a heavier coating of black deposits may be the result of oil in the combustion chamber, especially on higher mileage engines or engines that are improperly maintained.

Photo: Champion spark plugs.
White ashy deposits are an indication of coolant presence in the combustion chamber. Both oil and coolant passing through the combustion chamber are common causes of catalytic converter poisoning and related DTCs for Catalyst Efficiency Below Threshold. In these cases, you may be able to clean the converter but if the underlying condition isn’t addressed, the code will eventually return.
Selecting a suitable replacement plug is also more important than you may think. When choosing a replacement plug, be sure to install the same fundamental spark plug technology—iridium for iridium, double platinum for double platinum, et cetera—used by the manufacturer to achieve the same anticipated service life as the original plug.
No matter what brand you select, be sure to use an application-specific guide rather than a generic cross-reference chart to ensure you select a plug that will do the job.

Photo: Adobestock.com/mario beauregard.
And always verify the plug gap prior to installation. Use a round wire gauge rather than that wedge wheel you have on your keychain to avoid damaging the plug or the center. And if you must adjust the gap, use the tool to make the adjustment.
And forget about using any kind of anti-seize on the threads. Many plugs today have shells made of materials that provide some lubrication to the threads during installation and no additional additive is needed. Additionally, when anti-seize or similar compounds are used, you’ll commonly end up with an over torqued plug, even when a torque wrench has been used. This is due to the difference between wet and dry torque values. Further, excessive anti-seize can act as an insulator between the plug and the cylinder head. This can impact the plug electrically (poor ground connection resulting in misfire) and thermally (preventing proper heat transfer and potentially leading to preignition or detonation).
When installing plugs, carefully start the plug in the head by hand. I use a small section of fuel line to hold the plug as I spin it in. This avoids accidentally cross threading the plug—a problem you don’t want to have if you can avoid it.
With the plug lightly seated, be sure to use a torque wrench to finish the installation, tightening to the OEM specification. When installing new plugs, a torque wrench should always be used. Over-tightening is common and can cause separation of the internal seat area (where the ceramic core contacts the inside of the shell). That can lead to plug damage and misfires.
Not enough torque is bad, too—the plug can loosen as the engine runs. This, too, can lead to misfires caused by weak or intermittent plug firing due to the extra resistance in the ground path and compression loss past the threads. It can also lead to overheating of the plug’s porcelain since the heat’s path to the head is compromised.
Torquing a plug to the vehicle manufacturer’s spec ensures that it fully seats, properly seals and assists in transferring heat to the cylinder head.
As a finishing touch, take a small dab of dielectric grease and apply it to the secondary lead boot. This grease will help act as an insulator, seal the plug contact from outside contaminants (water, oil) and make it easier to remove the boot the next time around.
Changing plugs is a routine procedure, sure—but the high-tech engines of today are less forgiving of mistakes than they used to be. And it only takes a few extra minutes to do the job like a pro!
The articles and other content contained on this site may contain links to third party websites. By clicking them, you consent to Dorman’s Website Use Agreement.
They may look simple, but these little toggles can enable powerful electronic versatility.
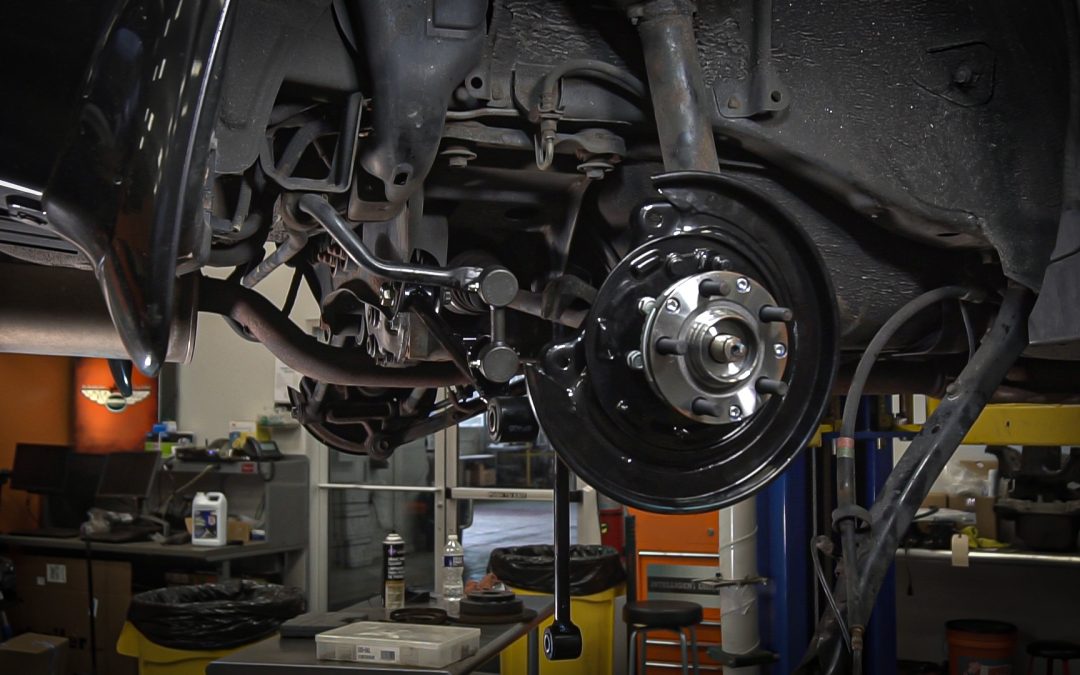
Loaded knuckles streamline wheel bearing and suspension repairs to help shops boost efficiency and profitability.

Can there be one threadlocker color to rule them all?

When it comes to threaded items, wrong is right. Or is it left?

To reach a successful diagnostic conclusion, you have to follow the right diagnostic path.
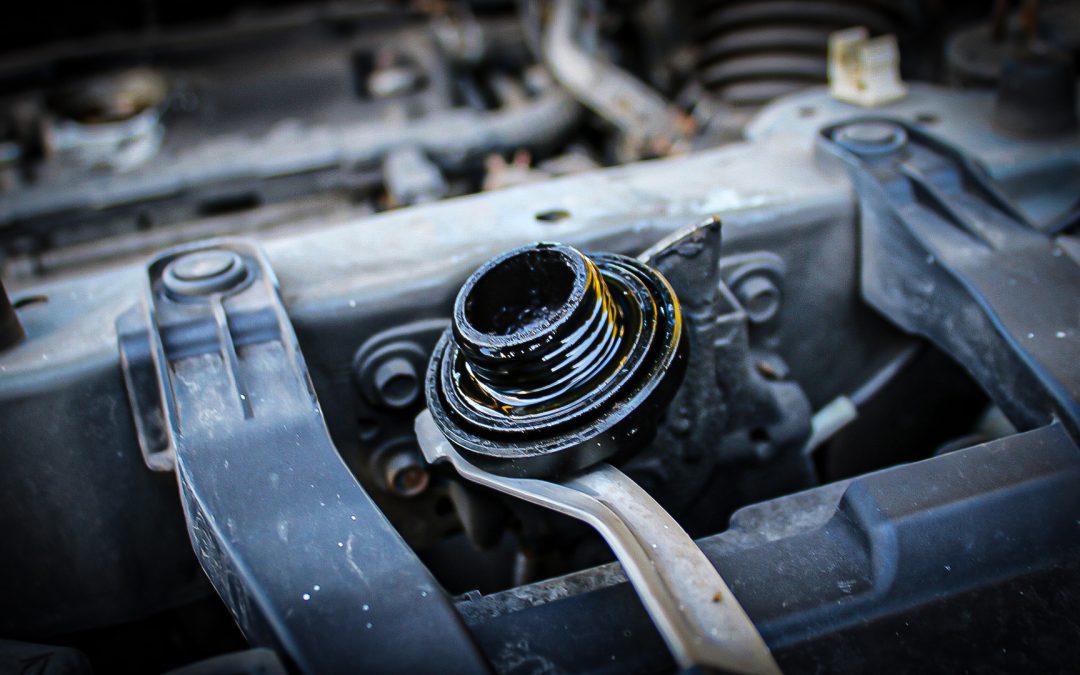
A bent dipstick and a broken oil cap are lucky indeed!
Participation in this forum is subject to Dorman’s Website Terms & Conditions. Please read our Comment Policy before commenting.