“Drive it ‘til the wheels fall off” isn’t the safest decision. So when does it end?
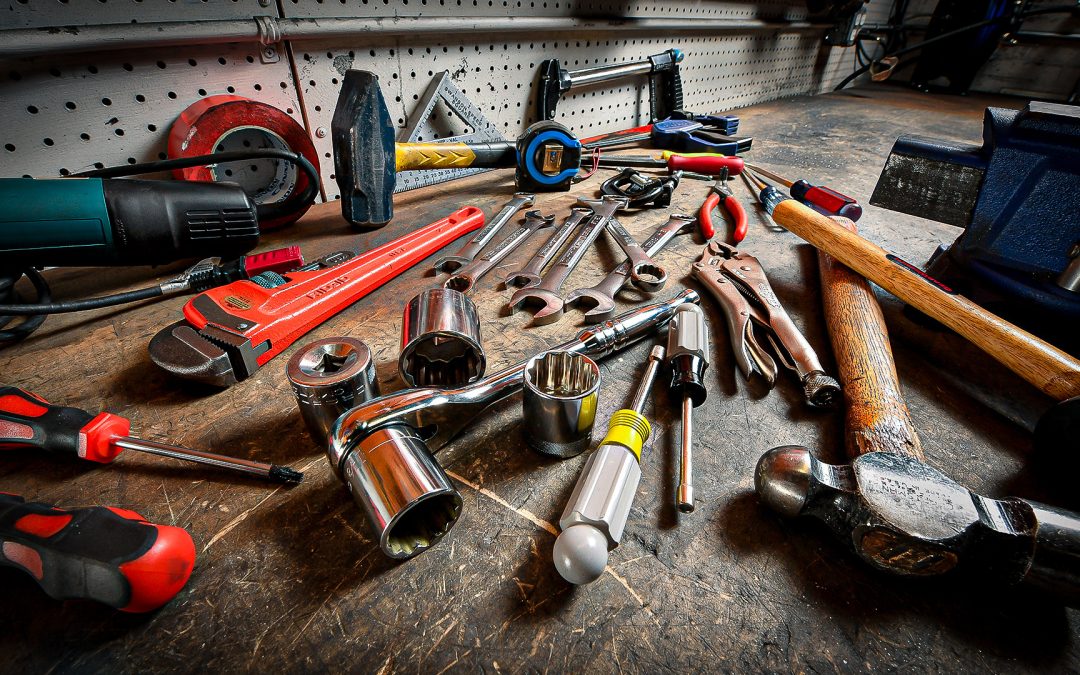
“Got a seven-foot section of brake line out without dropping the tank, cutting the line, or ruining a fitting. Today was a good day.”
I sent that text to a friend of mine the other day. In a past life he was a wrench at a Cadillac dealer, so I think he sort of understood why I was pleased. We’ve all struggled with rusted brake lines—my guess is that if you read that, you understood my sense of triumph.
Brake lines are a bit like exhaust in that those automotive jobs are ones where removal of the faulty part is often far more difficult than the subsequent installation. The reason for both, in my estimation, is corrosion. It’s a more aggressive problem up here in the salt belt since the rust tends to be heavy and scaly, but given sufficient age, even lines in salt-free environments rot.
Over the years I have picked up a few techniques from a lot of places that help ease the job of removal. Maybe you know a few of them. Maybe you know all of them. That said, I would hazard a guess that one or two of these might be worth your time. Maybe try a few of these. I’ve presented them in the order I think you’d want to perform them. Here goes:
The old hands know this kinda basic tip, but some of you newer techs may not: recommend every line under the vehicle on your estimate if the one you need to replace isn’t out in the open. Once you have a fuel tank down or something similarly annoying, it’s not a good use of your customer’s labor bill to not install every line you can get to while you’re in there.
Once a line has rusted through, odds are good at least parts of the others could be in similar shape. And once you restore great pressure to the one line (and start maxing system pressures as you pump the brakes aggressively to bleed the circuit), it’s all too often another line decides to let go. You can’t really charge the customer for something that broke while you were fixing the thing right next to it without the explanation sounding dubious.
Sell a set. If you can fix just one or two, you’ll be a hero, but over-promising and under-delivering is the name of the game here.
The torch is often not an option. Many brake parts are rubber, and the hard lines often run cheek-by-jowl with fuel lines; you don’t want to send the shop up in flames.
But there is another way. Your heat gun is a safer way to apply heat to a localized area since there’s no open flame. Brake fittings are no different than any other threaded connection: heat helps expand both parts and can loosen fittings.
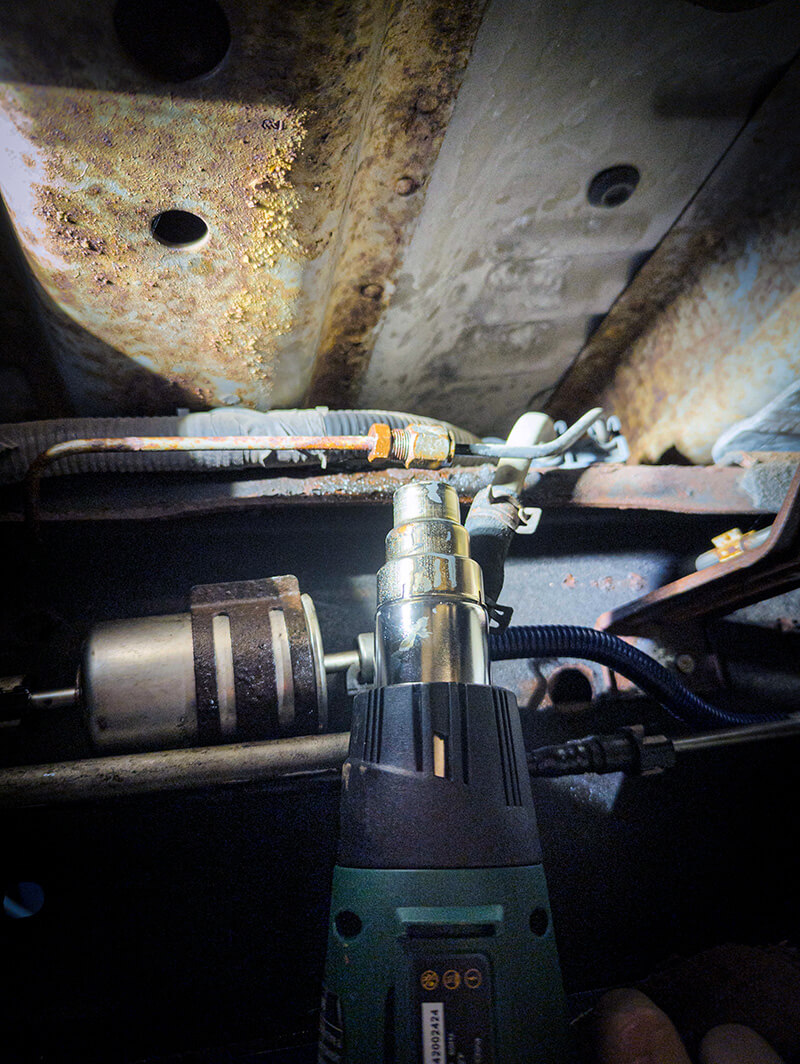
Photo: Lemmy.
Many years ago I started mixing (and using) Ed’s Red, which is a effectively a homemade penetrant. I can brew up a big batch of it for very little money and use a lot of chemicals I have on hand in the shop. I keep one oiler on the bench just for this stuff.
You may have a different favorite penetrant, and that is just fine by me. I’ve used PB B’laster for years (What is that dang apostrophe for?!) with success as many before me have done. Colleagues Nick and Luke like Aerokroil for many rusty items. There are countless others.
The important part of this tip isn’t so much the brand of penetrant. To me, this tip, along with the previous heat tip, is a case of the sum being greater than the parts. Either tip alone is fine, but together they are magic. If you can heat the fitting up nice and warm, capillary action causes the connection to pull the penetrant in; you can watch the joint suck it right up the threads. (If you can see through the smoke, that is. Some of those penetrants put on a little show.)
If you have the room to pull this off, it’s shocking how effective it is. The formerly frozen fittings spin off in a heartbeat. Let it go, indeed.
The temptation once it breaks free is to keep going, right? Fight that temptation. Work it back and forth and keep getting lube in there. Remember, if you booger up the threads, half of ‘em are still gonna be in play. And if you need to reuse the fitting because it’s an odd size, you’re hooped. Coming out hard means going back in hard.
This one here is a goody. We all likely reach for the line wrenches when approaching a brake fitting, right? And I think we’ve all felt the jaws open up a bit when bearing down on a little wee fitting. You know the end of the story: the soft fitting rounds off, the wrench slips, you smash your knuckles, and the fitting is often destroyed, and then you walk off to the box maybe looking for some locking pliers to crank down on the thing that used to be hex-shaped.
Why not get the pliers out first? If you have the room, take your line wrench and set it in the jaws of the vise grips before you slip it over the fitting. The added pressure helps the wrench’s opening not to deform, and can be the extra help you need to get that fitting loose.
This tip is even more useful if you have some off-brand junk line wrenches made of firm cheese. Ask me how I know.
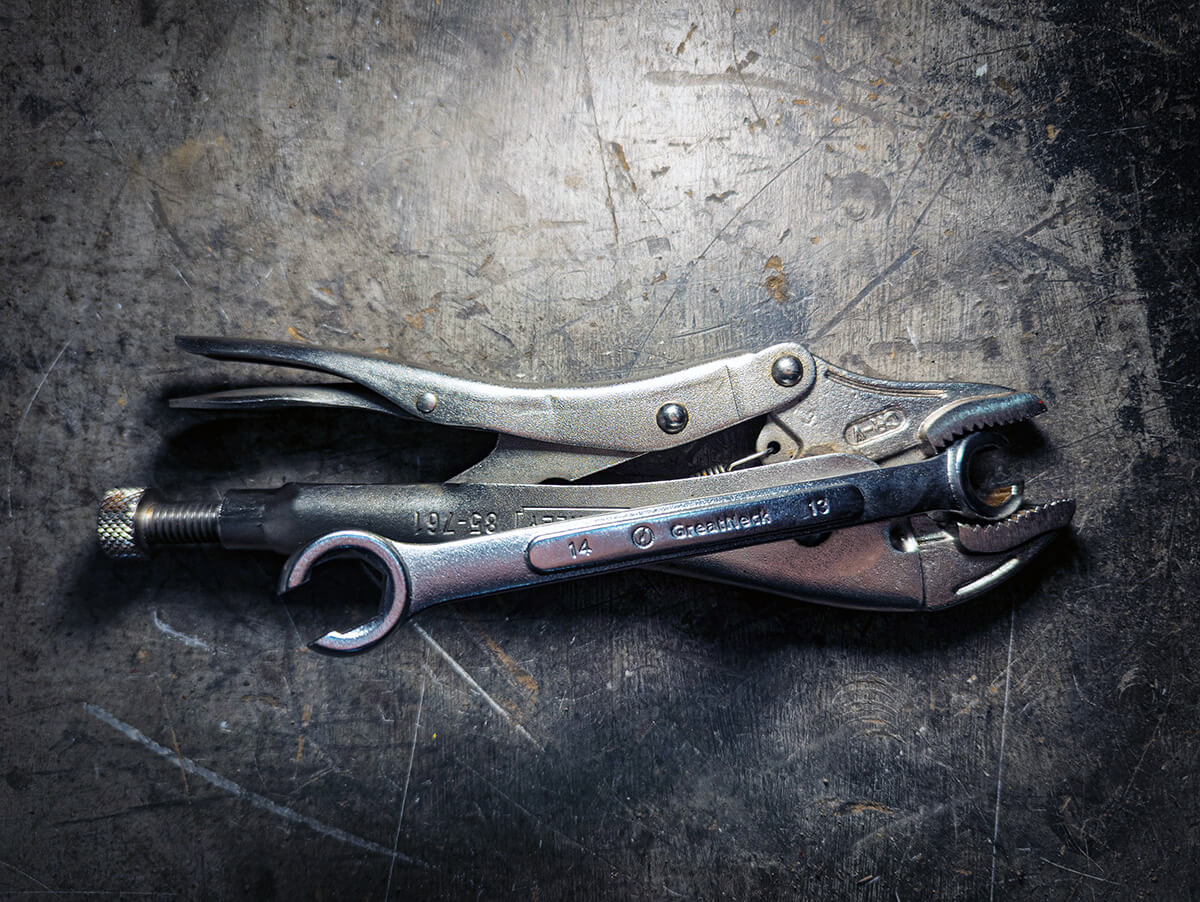
Photo: Lemmy.
If the line is toast anyway, why not cut it out of the way and slip a deep well six-point socket over the fitting? Seems obvious to me, but I’ve seen people forget this. (This tip helps later, too, when you’re bleeding the brakes. There’s nothing worse than getting all the lines done and then rounding off the bleeder in a caliper.)
Yes, this is a tip to make the install and resulting flush/bleed easier, but you need to do it during the install. (We have another article with some handy tips for that, too, if you don’t mind the shameless plug.) Grab some vinyl vacuum caps or silicone plugs and cap off the lines as you free the fittings. The fluid won’t make a mess all over your bay, and the bleed will be easier since there’s still some fluid kicking around in there.
Give a few of those a whirl and add any of your own in the comments section—there are certainly other ways to work without struggling.
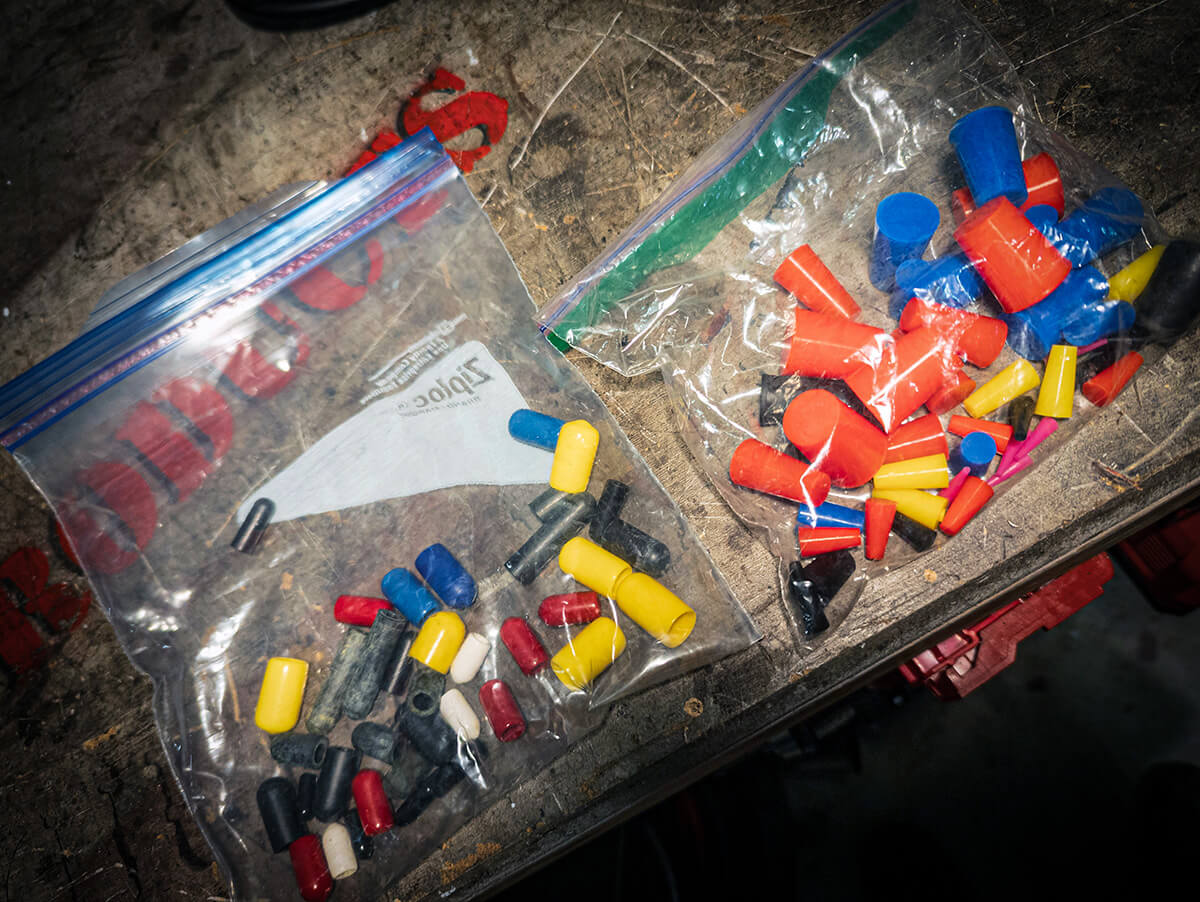
Photo: Lemmy.
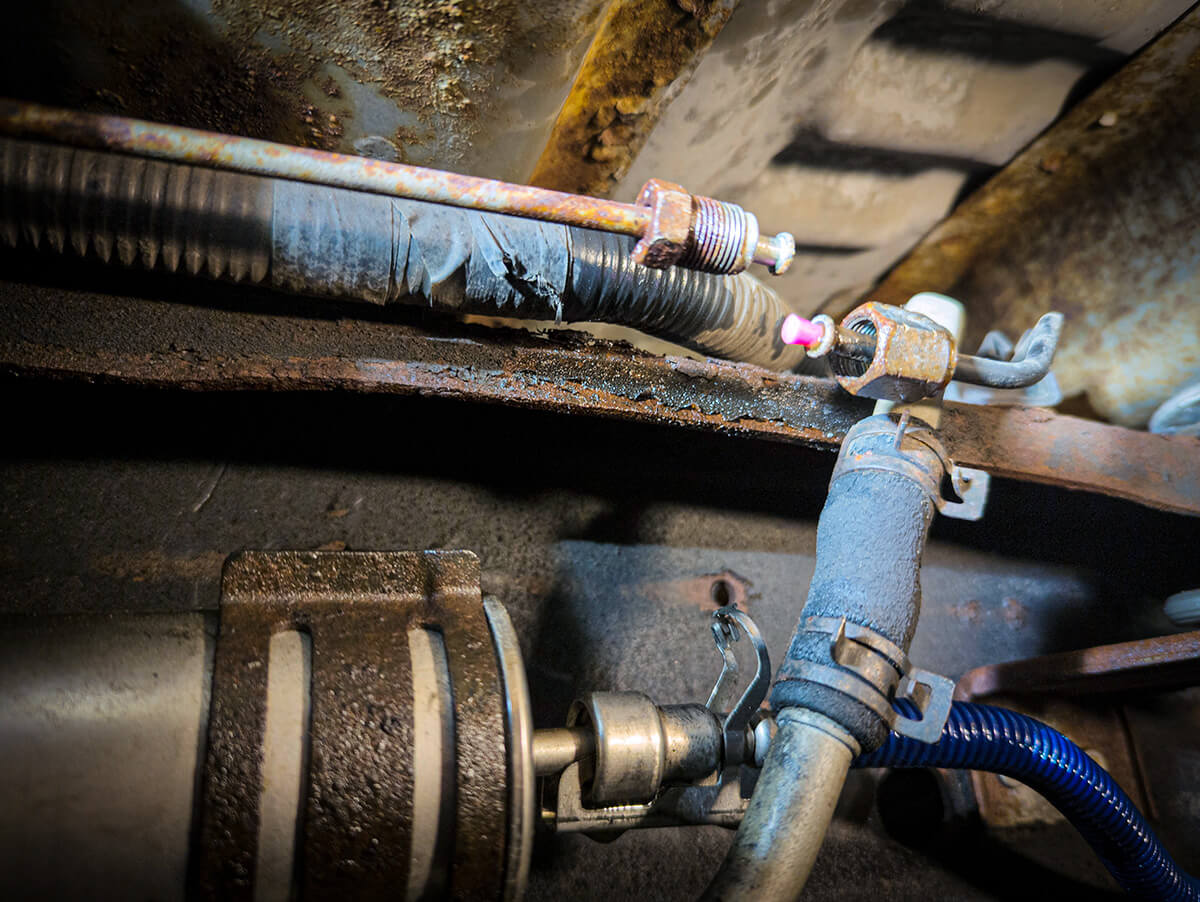
Photo: Lemmy.
The articles and other content contained on this site may contain links to third party websites. By clicking them, you consent to Dorman’s Website Use Agreement.
Participation in this forum is subject to Dorman’s Website Terms & Conditions. Please read our Comment Policy before commenting.