If you have to have them in the shop, endeavor to make politics polite.

Politics Ain’t Politic
read more
If you have to have them in the shop, endeavor to make politics polite.
Of all the fluids a vehicle needs, the brake fluid is arguably the most important. Inspecting your customers’ brake fluid is vital to the continued safe operation of the braking system. It’s a service you should perform not only when you’re servicing the brakes but as part of any routine maintenance.
Fluid level is your first stop. Brake systems are sealed systems so there are only two reasons the fluid in the master cylinder should be low. Either there’s a leak somewhere in the system or the brake pads are wearing down.

Never add fluid until you’ve determined the cause of the low fluid level. Use only fluid from a sealed container and be sure it is the correct fluid for the application. Photo: Peter Meier.
In either case, never add fluid to a master cylinder until you’ve identified the cause. The range of fluid is dynamic, reflecting the amount of piston displacement in the calipers that occur over the life of the pads. As the pads wear, the caliper piston(s) move further outward and the space behind it fills with fluid from the reservoir.
When the fluid level hits the minimum mark, the brake warning lamp illuminates to warn the driver that the brake system requires service. If you add fluid, you are allowing the pads to wear beyond their service limits and that can result, at a minimum, in metal-to-metal contact requiring additional repairs that could have been avoided. At the worst, the caliper piston can travel past the seal, resulting in a sudden loss of pressure. That means no brakes!
Instead, inspect the system to identify the cause of the low fluid level and correct the cause.
The condition of the brake fluid is as important as the fluid level in the master cylinder, and a common myth to dispel is that you can judge the condition of the fluid simply by its appearance. While that may have been true 30 years ago, it isn’t true today. Once new brake fluid is used in a vehicle, its color can change from its original clear or amber tint and darken rapidly once it contacts system seals and hoses. Even brand-new cars, never driven, can have dark fluid simply due to the color of the assembly lubricants used at the factory.
Instead, focus your attention on two areas: moisture content and indications of corrosion.
Brake fluids used for most automotive applications are hygroscopic, meaning they easily absorb moisture. Excessive moisture levels in the brake fluid can lead to lowered brake fluid boiling points that can, in turn, lead to soft pedal feel, longer stopping distances, and brake fade.
And while many in the industry still consider moisture contamination a major cause of brake system damage, the presence of excessive moisture is rarely an issue due to the use of EPDM brake hoses and sealed brake systems.
You’re more likely to find internal corrosion in the brake system. Like the engine’s coolant, brake fluid contains additives designed to lubricate and protect the brake system from corrosion. These additives are consumed over time and when depleted, corrosion begins to set in.
An early sign that corrosion is taking place is the presence of copper particles in the fluid. The steel lines on a vehicle’s brake system start life as a flat piece of metal. It’s then rolled into a hollow line and brazed with copper alloy from the inside out, creating a seamless line. The copper alloy used to coat the inside of brake lines is where the copper particles found in the brake fluid comes from. The presence of copper particles in the fluid can damage internal ABS components and accelerate the corrosion of other components in the braking system.
So how do you test for these conditions? Let’s start with inspecting moisture content.

This electrical tester is used to detect moisture in the fluid by testing the conductivity. Photo: Peter Meier.
A common pencil-style brake fluid tester is all that is needed and works by measuring the conductivity of the fluid. The more moisture in the fluid, the more conductive it will be.
Another method is the use of a test strip. Many companies that sell these strips offer products that allow you to inspect not only moisture content, but copper particle content as well.
Copper content is considered a good indicator of the condition of the inhibitor additives that protect the entire system from corrosive damage. The Motorist Assurance Program (MAP) guidelines, while offering no specification for moisture, does recommend fluid replacement when copper content exceeds 200 ppm.

Test strips are available to test both moisture content and the presence of copper. Copper content should not exceed 200 ppm according to MAP guidelines. Photo: Peter Meier.
The use of test strips to gauge this contaminant amount is generally considered the industry standard testing method. But what happens when an older system has been previously flushed and most of the copper particles have been removed from the system? How do you assess the fluid then?
As the inhibitors fail, the pH of the fluid becomes more acidic. As it does, it is possible for a galvanic reaction to occur that turns the brake system into a little battery. The voltage generated by the reaction can be measured using a voltmeter.
Place the negative meter lead at the negative battery post and then insert the positive meter lead into the brake fluid, being careful not to allow the tip to contact anything but the fluid. If your meter reads more than 300 millivolts, consider recommending a fluid change to your customer.
You can also use a test strip designed to measure the pH level of the brake fluid. Just like a moisture content test strip, dip the strip into the fluid and allow it to sit for the specified amount of time, and then compare the color of the test pad to the scale on the test strip container.
OEMs vary on their views when it comes to servicing brake fluid. Some recommend it on a time/mileage basis like any other service interval and have it listed in the maintenance schedule. Others list no service recommendations whatsoever. As professional technicians, we know that the additives in the brake fluid don’t last and by servicing them on an “as needed” basis, we can help our customers avoid costly repairs caused by damage to various brake system components.
The articles and other content contained on this site may contain links to third party websites. By clicking them, you consent to Dorman’s Website Use Agreement.
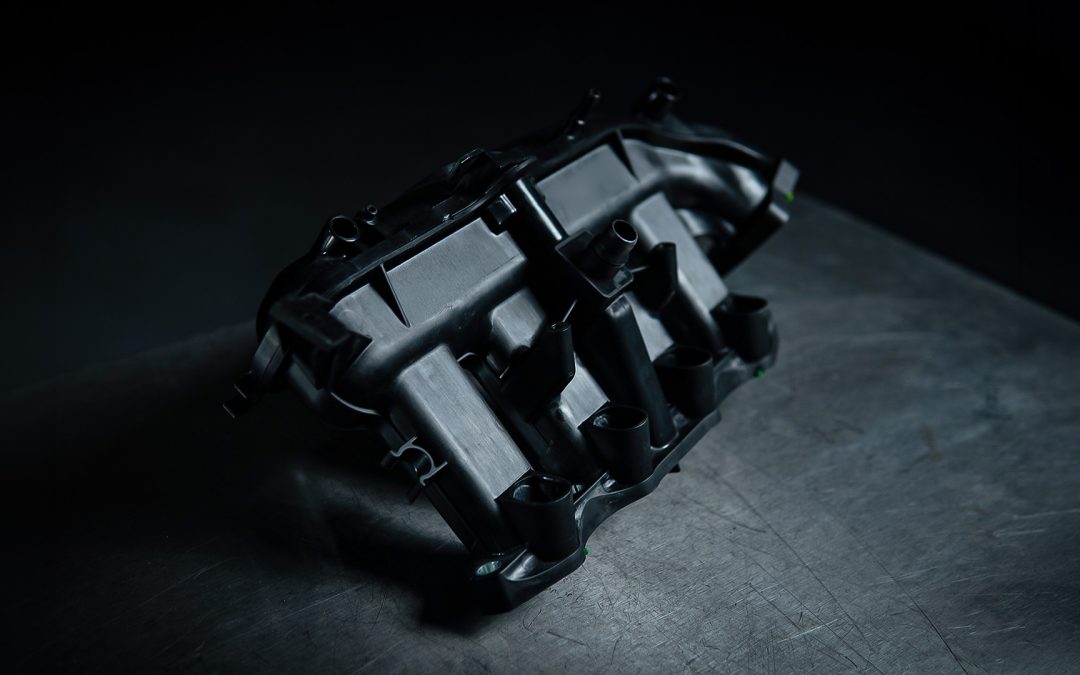
Find out when plastic intakes go bad, and why you should or shouldn’t replace one.
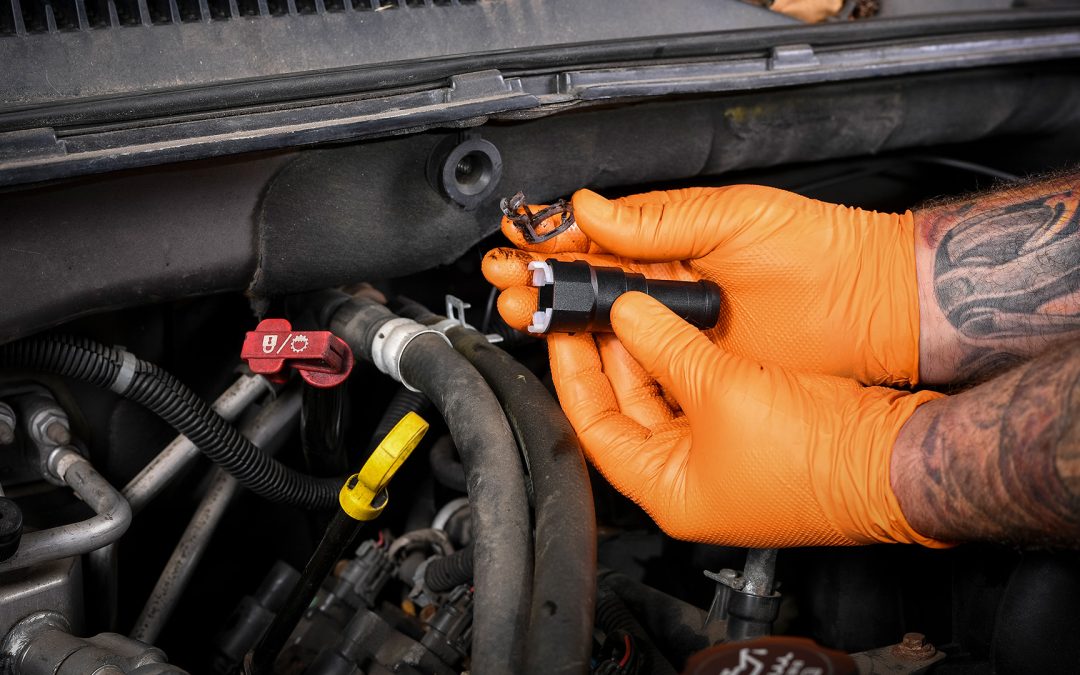
Quick disconnect tools are a must for modern fuel, A/C, or transmission line jobs; no more fighting clips.
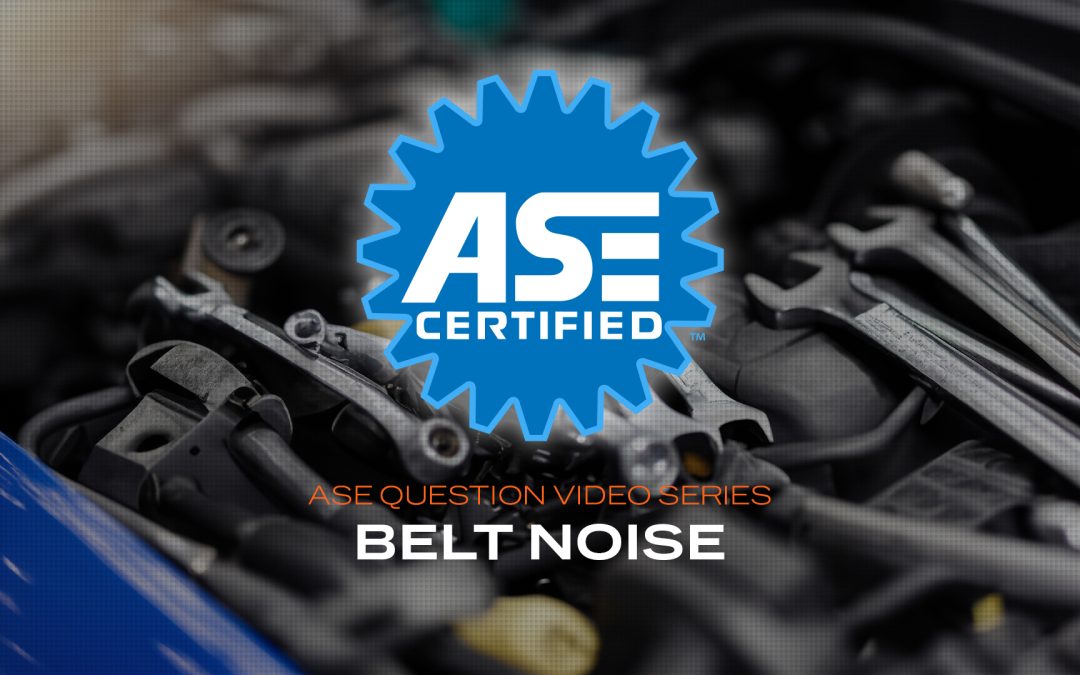
Technician A says chirp is the most common belt noise complaint. Technician B says EPDM belts can wear out without showing visible damage. Who is correct?

Learn how to pinpoint common Prius coolant leak sources with step-by-step diagnostic tips from the shop floor.

Modern impact sensors work together to detect collisions in milliseconds and activate critical safety systems.
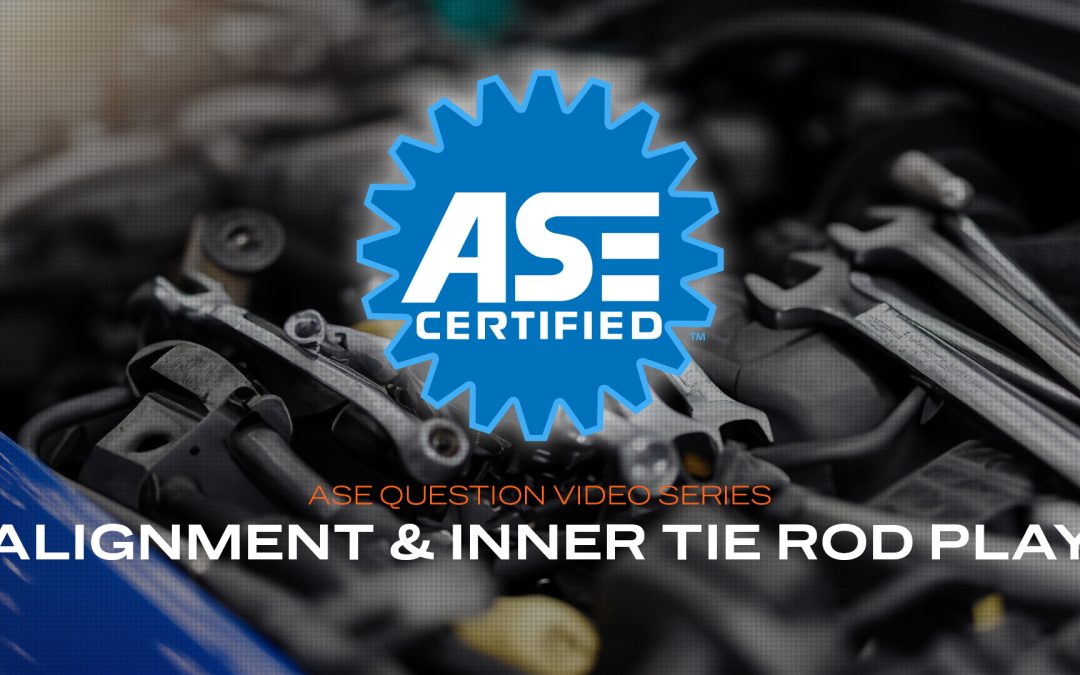
A vehicle with MacPherson strut suspension is in for tires and an alignment. The technician finds play in the left inner tie rod end. What should the customer be told?
Participation in this forum is subject to Dorman’s Website Terms & Conditions. Please read our Comment Policy before commenting.